Showing posts with label food. Show all posts

Friday, January 11, 2013

"Veggie Tray" Soup


Believe it or not based on my cow-like build, I actually try to keep things relatively healthy around here.  That means that when I'm doing lots of entertaining, I make a lot of veggie trays.  I feel like if I fill 3/4 of my plate with raw veggies, I can fill the last 1/4 with a treat and not being doing too badly for myself.  That means, too, though, that I end up with a lot of odds and ends form my veggie trays.  Celery, carrots, broccoli, and cauliflower all end up in baggies together and they never make it to the next tray, they just hang out in my fridge.  

Inspired by my children's love of Panera Bread's Broccoli Cheddar Soup, I decided I would make Veggie Tray Soup using a similar  flavor profile.  It's super easy, too!  Shred/Chop/Coarsely Food Processor the mixed veggies of your choice.  I used 2 cups of chopped veggies, total.  

Next, in a soup pot, place 1 tablespoon of butter and 1/2 a cup of chopped onion and sauté until the onions are clear and cooked through.  Next, add the veggies plus and 3 cups of chicken or vegetable broth.  Bring to a boil and cook until the vegetables are your desired level of doneness, between 5-10 minutes depending on your taste and the size you chopped your vegetables. 

Next, add one can of Cheddar Cheese condensed soup (I said it was easy and good, not gourmet!) and 1/2 cup of whatever mixed cheeses you have laying around, and heat until cooked through and warm.  If the soup isn't thin enough, use milk to think it out.  I also added salt and pepper to taste.

If you'd rather not use the condensed soup, you can easily switch it out.  After cooking your onion and butter, and then add and additional 3 tablespoons of butter and 3 tablespoons of flour, and cook while stirring for 3 minutes.  Then, add 1.5 cups of milk, 1.5 cups of chicken stock, stirring until slightly thickened, and then your vegetables (cooked in water and drained).  1 cup of shredded cheese will finish you up nicely.  

Enjoy!  (We had ours with warm Pampered Chef Beer Bread, and it was awesome!) 


Wednesday, September 12, 2012

Cycle 1 Week 4 Science- Plant Cell

Tell you some parts of a plant cell?

I could....but I'd rather nom on some parts of a plant cell :) Hot on the heels of our Animal Cell Brownie  we bring you plant cell veggie bread.

Veggie bread is the brainchild of a friend of mine, who even brought me some at 11pm one night when I was putting together CC materials for our community.  Love her!  We went to her house so our kids could work together making their cells.

You'll need 1 8-ounce cream cheese, softened, 1/2 a packet of Hidden Valley Ranch dressing mix, and a can of refrigerator crescent rolls, which they even sell without perforations in a flat sheet.

Step one: Unroll the crescent dough and lay it flat on a cookie sheet.  Bake until golden and delicious according to the package directions.

Step two: using a hand mixer (or muscles, whatever), combine the ranch dressing mix and cream cheese until well-combined and spreadable.

Also, you'll need veggies.  We used cucumber for chloroplasts, carrot peelings for golgi bodies, broccoli for mitochondria, the ranch cream cheese for cytoplasm, the crescent bread for cell membrane, the baking sheet for cell wall, a pile of chopped cauliflower for vacuoles and a tomato slice for the nucleus.
We had 4 children and let them each take turns putting the organelles and telling us what each one does.  This was great review for last week, too!
We recommend making 2 of these....one like this for the kiddos and one with finer chopped veggies for the grown ups to enjoy :) Happy cell making!

Tuesday, September 11, 2012

CC Week 3 Science- Tasty Tasty Cells

I think that it's a generally accepted fact that if you can craft something out of food, your children will remember it.

Or, maybe that generally accepted fact is that calories don't count if they are educational.

Something like that.  One of those must be true.

Science week 3 is tell me some parts of an animal cell.  Armed with my debit card, and the need to fill up my tank of gas, and the desire to burn an afternoon, I picked up several kinds of candy, and when we got home, I had my oldest make brownies as a reading comprehension exercise.  (That means he reads and follows the directions and I sit and try to keep my mouth shut unless he's read a fraction incorrectly and is about to put "1 or 2 cups of oil" instead of 1/2 cup of oil).

 A cake would work equally as well.  You'll need a cell base (cake or brownies, we used a round pan), frosting (because cytoplasm tastes better as sugar), and then various things to use as organelles.
 Optional, but I labeled a paper plate and put stars on the ones we actually had in the memory work.  I may have over-bought treats.  We used a cookie for the nucleus, honey cashews for the mitochondria, peanut butter M&Ms for the vacuoles, gummy worms for golgi bodies, and skittles for the lysomes and centrisomes.  I used cake sprinkles for ribosomes.
 Spreading is an important pre-writing skill. (I can't prove that)
The finished cell.  It was delicious! Everyone asked for a piece based on the type of organelles they wanted to get, and they told daddy about the various parts and functions before we dug in.

Saturday, February 18, 2012

Savannah Lynn's Birthday

I am a huge sap for birthdays.  I figure that our kids will only really want 10 or 12 birthday parties, if I'm lucky, and I want to do them up right.

I seriously would  love it if there were random rich people out there that would pay me to decorate and prep crafts for their children's birthdays.  It makes me so happy to think of all the fun memories!!

For Savannah Lynn this year, we did a Princess Party at home.  There are about 2,000 pictures in this post, I apologize.

Tea party-style foods are cuter :) I use my stackable serving platters.  There are storebought lemon cookies, butter cookies with frosting and pink and red sprinkles, sliced cheese I cut using a flower cutter, and butterfly crackers.   I went super simple for the cake, just a pearl S.  One of
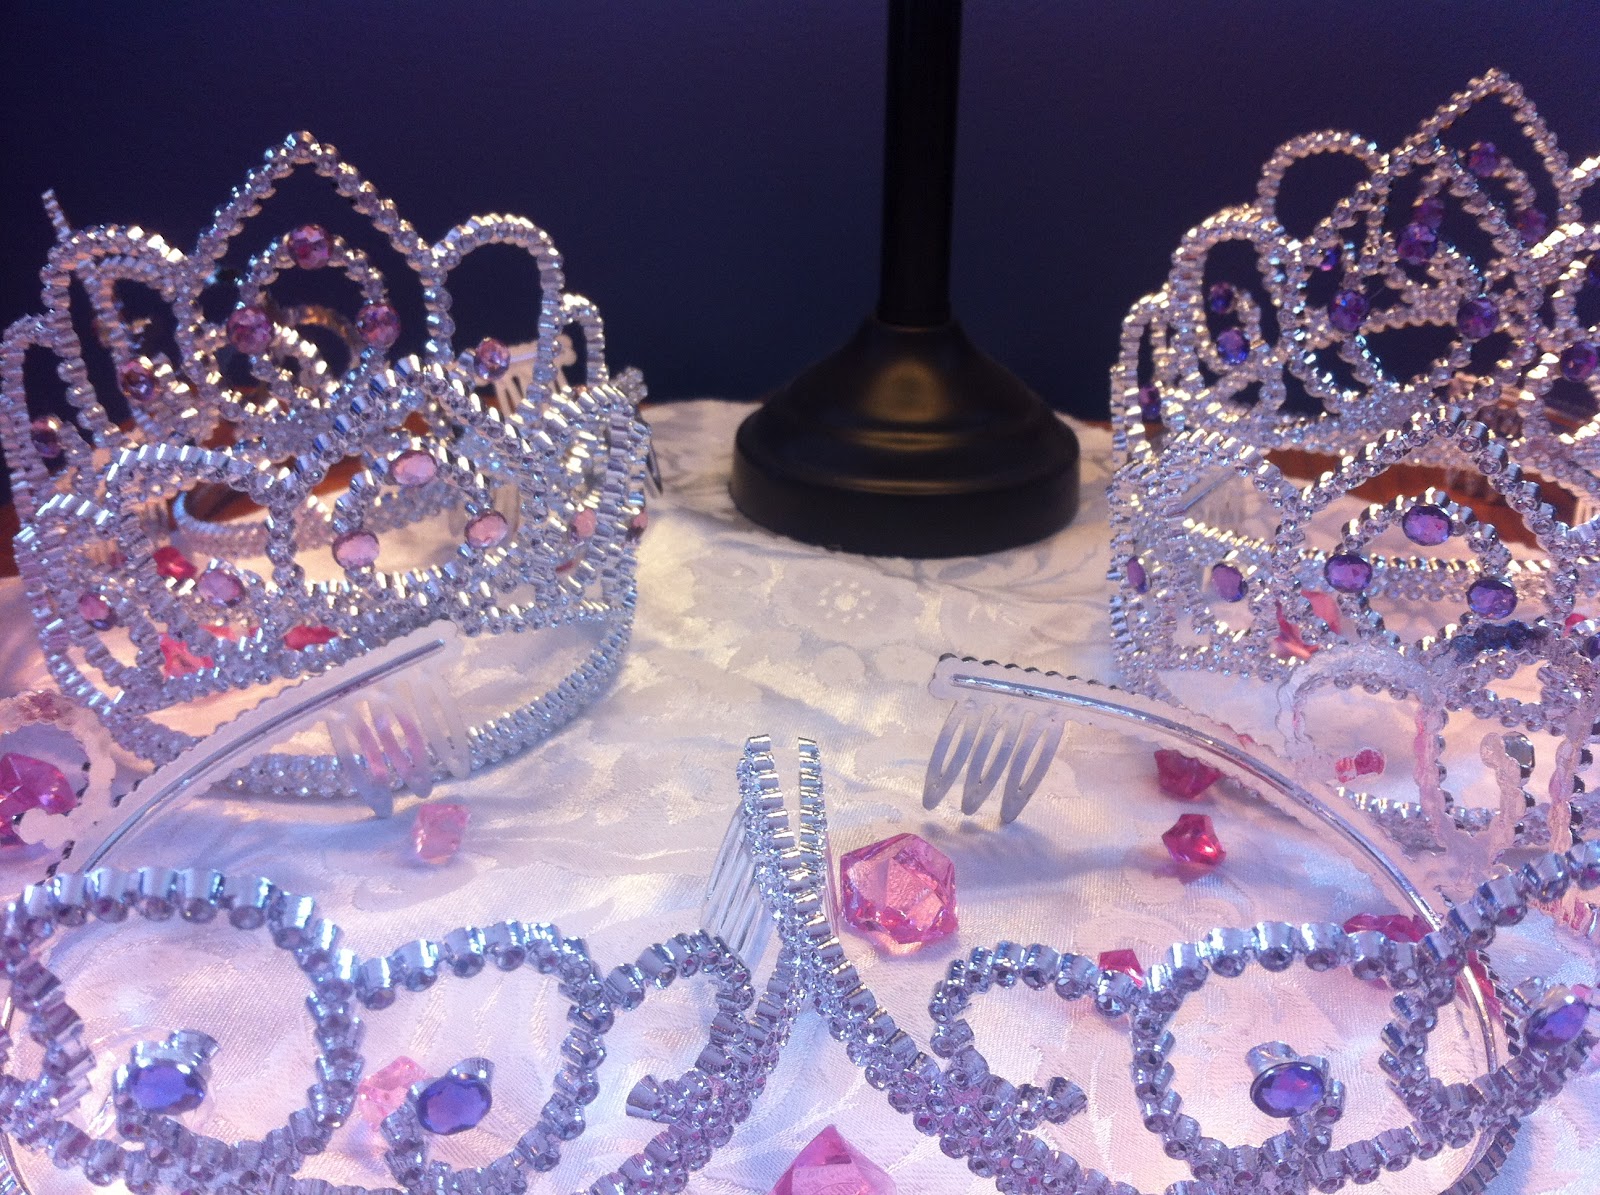
the best investments I ever made was in pink fabric when there was a yardage sale with a coupon at JoAnn Fabrics.  I got tulle, beautiful organza, and even prints, and I reuse them each year to decorate.  I used my mom's cricut with baby pinks and greens to make the birthday banner, and then I fill in with balloons and streamers.  I like that I'm saving money by reusing and also being a little bit greener :) I got these crowns at Tar-jay for a very decent price, and put out one for each little girl.  For crafts, I found plain boxes at Michael's for $1 each and painted them (the blue ones are for brothers) and then put in edging, stickers, and self-adhesive jewels for each girl to make a treasure box.  When they were done, we filled them up with necklaces and pink candy (gum, truffles, and kisses) and then wrapped a pink balloon around them.  Each girl took that and her crown home instead of doing a goody bag.


Savannah borrowed a pageant dress from her friend Katie-Marie (who is now a size 8 and didn't need it for the party!) and looked adorable. 

Grandma came, which always makes a party more fun :) Even mommy got some time to cheese for what are, unfortunately, really bad cellphone pictures, but we had a great time :)


Riley and Logan dressed up in their suits for the party, although Riley quickly retreated downstairs to play Legos.  I love this picture of him and Savannah.  He loves his little sister something fierce.  She loves her bubbas both tremendously.  

Riley was retreating from our special surprise- a REAL PRINCESS!!  Princess Genevieve from the Kingdom of Azuria came and spent some time with the girls.

She started off telling stories about her kingdom and showing off her treasures.  The girls were so excited they couldn't move or speak!  Logan, however, had a blast and even went to get his treasure box and tell her all about Vava Land (where Vavas and Vivos live)


After, the girls and Princess Genevieve enjoyed some singing, dancing, and twirling, and the girls got much more comfortable.  When it was time for snacks and lemonade, Genevieve made herself right at home on the floor with the little princesses, who enjoyed her company greatly.


We had a fantastic time, and I very much enjoyed our very girly party :)


Baking Adventure

Using Pinterest has piqued my interest in muffin tins and their uses beyond cupcakes and blueberry muffins :)

The other day, Harris Teeter had a "meal deal" that included orange juice, sausage, eggs, and refrigerator biscuit dough for $5 or $6 total.  I decided to try my hand at some breakfast muffin tin magic. 

You need to separate the layers of your biscuit dough about 3/4 of the way down, and then line the muffin tins.  Then, stab with a fork several times.  They'll still rise a lot.  Then I mixed 2 eggs (yes, just 2), 2 T of milk, 2T chopped red bell pepper, 1T chopped parsley and salt and pepper.  In each "cup" I sprinkled in a few pieces of chopped turkey lunchmeat and 1 piece round of cheesestick (they were the right size!) and then topped it off with 1/12th of the egg mixture.  It's not a lot of egg, but both the baked egg and the biscuit fluff up when you bake! These are yummy warm and also reheat nicely in the microwave.  Definitely put a baking sheet underneath, though, because if you fill the cups too much the egg will bake out.